Homemade Baby Food Made Easy: Steps, Storage & Blends
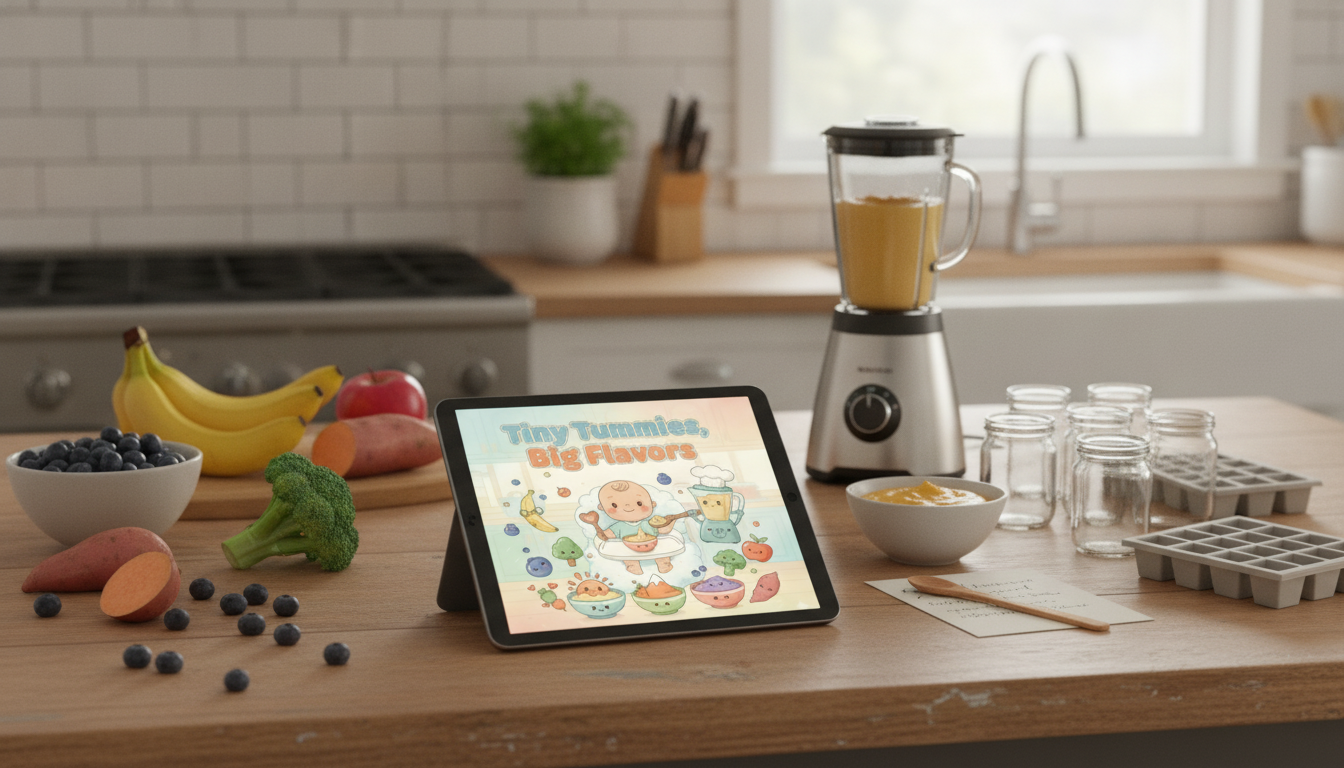
Tiny Tummies, Big Flavors: A Step-by-Step Guide to Homemade Baby Food
Homemade baby food can be simple, budget-friendly, and surprisingly versatile. With a few basic tools and a safe, repeatable routine, it’s possible to prepare smooth purées and thicker textures that match a baby’s stage—while keeping ingredients straightforward and nutritious. This guide walks through readiness cues, safe preparation, smart batch cooking, storage, and flavor-building ideas that help babies explore new tastes one bite at a time.
When Babies Are Ready for Solids
Most babies are ready to begin solids when they can sit with minimal support, have solid head and neck control, show interest in food, and can move food from a spoon to swallow (with less tongue-thrust pushing food out). Many babies reach these milestones around 6 months, but timing can vary—especially for premature infants—so it’s smart to align with pediatric guidance.
Early on, breast milk or formula remains the primary source of nutrition. Solids are mostly practice: new tastes, new textures, and new skills. If you’re considering early allergen introduction, many families can introduce common allergens in age-appropriate forms; talk with your pediatrician first if your baby has eczema, a known food allergy, or a strong family history of allergies. For additional reference, see the CDC guidance on introducing solid foods and the American Academy of Pediatrics overview on starting solids.
Kitchen Setup: Tools That Make Prep Easier
You don’t need a gourmet setup. A steamer basket (or a pot with a lid), a blender or food processor (an immersion blender works too), and a way to portion and label are the backbone of an easy routine. If you like ultra-smooth textures, a fine-mesh sieve can help with peas or beans. A digital thermometer is handy if you plan to purée meats, so you can confirm doneness quickly.
Keep your workflow clean: wash hands, sanitize surfaces, and separate raw meats from produce. Start with simple ingredients and skip added salt and added sugar. Avoid honey under 12 months, and avoid unpasteurized foods.
| Item | Why it helps | Easy alternative |
|---|---|---|
| Steamer basket | Preserves texture and nutrients while cooking | Roasting on a sheet pan |
| Blender or food processor | Smooth purées and quick blending | Immersion blender in a tall cup |
| Freezer tray (1–2 oz) | Portioning and batch storage | Ice cube tray + freezer bag |
| Airtight containers | Fridge storage and travel | Small glass jars with lids |
| Labels + date | Helps track freshness and rotation | Masking tape + pen |
A Simple Step-by-Step Method for Homemade Baby Food
Step 1 — Choose ingredients
Start with single-ingredient options like sweet potato, carrot, pear, or peas. Single foods make it easier to spot what your baby tolerates well before you begin blending combinations. Choose ripe produce and fresh proteins.
Step 2 — Wash and prep
Scrub produce, peel when needed, remove seeds and pits, and cut foods into evenly sized pieces. Uniform pieces cook more evenly, which helps you get a consistent texture in the blender.
Step 3 — Cook until very tender
Steam, roast, or simmer until the food mashes easily with a fork. “Very tender” matters—especially for early purées—because it reduces graininess and makes blending easier.
Step 4 — Purée and thin
Blend, then thin with breast milk, formula, or water to reach the consistency your baby can handle. Many babies do best starting with a smoother, thinner purée and gradually moving thicker as skills develop.
Step 5 — Cool quickly and portion
Step 6 — Serve safely
Warm gently, stir well, and test temperature before serving. Avoid reusing food that has been in contact with saliva, and discard food that sits out too long. For additional food-handling guidance, the USDA FSIS baby and young child food safety page is a solid reference.
Texture progression ideas (adjust to your baby)
Flavor Building: From Single Ingredients to Balanced Blends
| Base | Add-in | Optional booster |
|---|---|---|
| Sweet potato | Red lentils (well-cooked) | A drizzle of olive oil |
| Peas | Plain yogurt (pasteurized) | Mint (tiny pinch) |
| Pear | Oatmeal (cooked) | Cinnamon (small pinch) |
| Carrot | Chicken (finely blended) | Thinned with breast milk/formula |
| Banana | Peanut butter (thin, smooth) | A little yogurt for texture |
Storage, Freezing, and Reheating Without the Guesswork
Common Problems and Quick Fixes
A Convenient Step-by-Step eBook Option
- Tiny Tummies, Big Flavors digital baby food guide (downloadable eBook)
- Benefits of Positivity Bundle: Fuel Your Mind, Build a Positive Mindset & More (digital bundle for a steadier, more encouraging day-to-day mindset)
- The Ultimate Potato Pack for Cozy Dinners – 10-in-1 Digital Recipe Bundle (easy family meal inspiration as baby meals and family dinners start to overlap)
FAQ
How long does homemade baby food last in the fridge or freezer?
For safety, use refrigerated homemade baby food within a short, conservative window and freeze portions you won’t use soon the same day you make them. Frozen purées keep best quality for a limited time, so label and rotate, and always discard leftovers from the bowl to avoid contamination.
What are good first foods to start with at home?
Soft-cooked single ingredients like sweet potato, carrot, pear, and peas are popular starters because they purée smoothly and are easy to portion. As your baby progresses, include iron-rich options such as well-cooked lentils or finely blended meats, with no added salt or sugar.
Can babies have spices in homemade purées?
Mild herbs and spices in tiny amounts are typically fine and can help babies explore new flavors, but skip spicy heat and avoid adding salt. Options like cinnamon, basil, oregano, ginger, or a very small pinch of mild curry seasoning can work well; check with a pediatrician if you have allergy or medical concerns.









Leave a comment